
 |
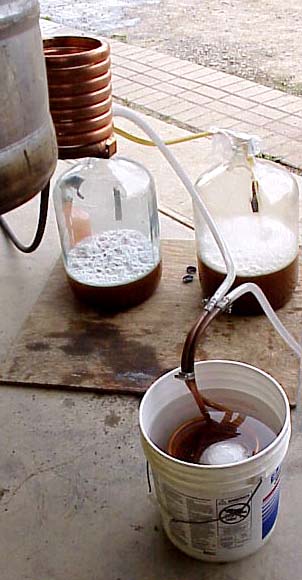
Here is the bulk of our equipment we use for our 10 gallon batches. We have 2 propane burners that we use for boiling water and the wort. We use the 170,000 btu unit to boil our strike and sparge water in our 14 gallon stainless kettle. We also use a 35,000 btu ring burner to keep our sparged wort at 200°F while sparging, then bumping the gas up to get a quick boil as soon as the sparge is done. We use a counterflow wort chiller, Chillzilla, in unison with our older immersion chiller in a bucket of ice water, to chill our 12 gallons of boiling wort to pitching temperature in only 20 minutes, cool! We also use the motor lift to raise our boiled wort kettle while we let gravity feed the boiled wort through our chiller. |
| This is our 9.3 gallon stainless kettle we use to boil our strike water (the water to be mixed with the grain to make the mash) as well as our sparge water (the water we use to "rinse" the sugars from the grain after conversion). Steve welded a nice brass spigot into the side about 1 inch up from the bottom. We generally use this kettle with the 170,000 btu ring burner propane cooker. This particular burner is a Morrone KDA26, about $50US at Central Tractor on sale. We also use an old discarded stainless 15.5 gallon keg we got from a scrap dealer for a boiling vessel. We make 10 gallon batches and we like to start with around 14 gallons before boiling to end up with 10 gallons after fermenting and racking twice. |  |
 |
Here's a couple shots of my JSP malt mill. I love this thing! You need a good mill to get a proper crush of your grain. This ensures that the starch will be converted as completely as possible. This is one of the most important toys, I mean tools, you should have for serious all grain brewing. We have removed the hand crank and now power the mill with a pretty beefy 3/8 inch hand drill. | 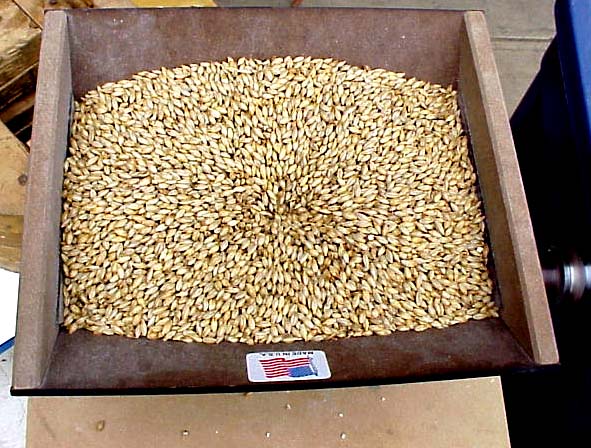 |
 |
 |
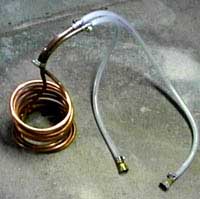 |
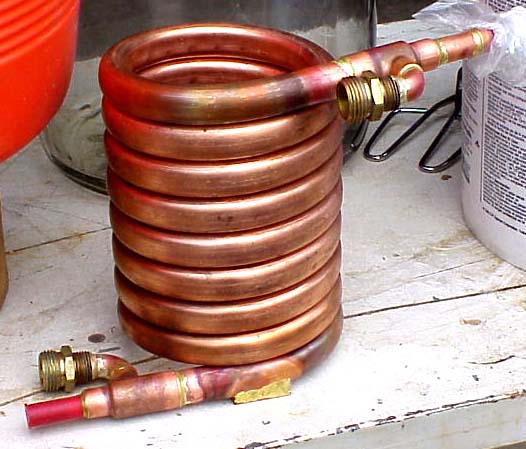
| Shown above are our two chillers we use to quick cool our boiling wort. We place the immersion chiller (the one on the right) into a bucket of ice water to "prechill" the cold water we circulate through the counterflow chiller on the left. This combination makes for a very rapid drop in temperature from boiling to 70° F in around 20 minutes. Steve and I made the immersion chiller by simply taking a 25 foot length of soft copper tubing and wrapping it in circles. You can use a keg or a coffee can to get a nice coil. We then added a couple food grade hoses with stainless hose clamps and we used this for many batches very successfully. I must point out that by using both chillers we have eliminated an hour from each brewing session since I purchased the counterflow unit. A very worthwhile investment if you are a serious brewer and want to see your children before they are full grown. |
|
 |
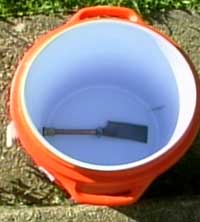
This is our homemade "ECMasher" clone and a shot of it in our 10 gallon cooler. Steve had some old 313 stainless around and some copper so we fabricated this rascal. I used my plastic spigot from my old bottling bucket and bought a couple of brass adaptors at the local mega hardware store and there we are, a cheap, very efficient mashing system. It has held up great and due to the heavy duty SS, it's pretty indestructible. |
| I have since replaced the plastic spigot with a brass ball valve w/barbed fitting. I did this because I was getting some oxygen being sucked in through the loose fitting spigot seal where it rotates. | ||
| Here's the "Beer Safe" and a few of our kegs. We got tired of screwing around with bottles after about 3 batches I think, it was so long ago now. Kegs are far easier to handle than bottles, but you do need the room, the fridge and the extra $$ for the increase in electric bill as well. | 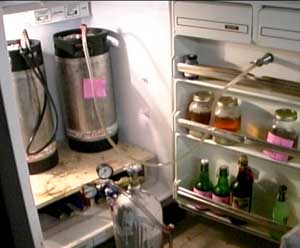 |