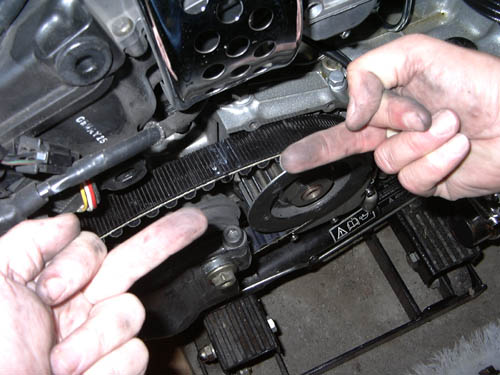

Now you simply reverse the procedure to
reinstall the rear wheel, rear brakes, tighten the swingarm nut and
replace the plastic cap, tighten both side swingarm clamp bolts. Adjust the rear
wheel for proper alignment.
Now to adjust the belt: First get out your
nice new handy dandy Harley Davidson (gasp!) belt tension tool, (~$20,
part#40006-85). Adjust the belt with the bike upright, on the ground centered
with the rider seated on the bike for weight. Then adjust the belt so that the
maximum deflection on the bottom center of the belt is no more than 3/8" to
5/16" with 10 pounds of upward pressure applied. Once you do this one time it
will become second nature to you. Ride the bike for a little bit and
check everything for tightness. Then recheck the belt in 100 miles and again at
about 500 miles. It will probably not change much since belts do not stretch
like chains do.
A final special thanks to Ozzie at QPD. He sent mike two
belts, one was slightly narrower as we thought that maybe it was too
snug sideways causing the premature failure. After we got this belt on and fought
with the rear wheel about 15 minutes we realized it was only 127
teeth long. Doh, it needs to be 135 teeth! So, another removal of swingarm, only
takes us 5 minutes now, we replaced the belt for the second time in the same
night. Here's our special kiss of thanks, me on the left, Mike on the right.
The message is to the belt, not Ozzie personally, he's a great guy!